
Introduction to 3-Tier Diaper Cakes
Diaper cakes are delightful and practical gifts for baby showers or welcoming a newborn. Among the various designs, the 3-tier diaper cake stands out for its impressive appearance and functionality. Crafted from rolled diapers, adorned with ribbons, and often embellished with baby accessories, these cakes serve as eye-catching centerpieces while providing essential supplies for new parents.
Choosing the Right Supplies
To create a stunning 3-tier diaper cake, gather the following supplies
Diapers: Opt for size 1 or 2 diapers, ensuring an adequate quantity for each tier.
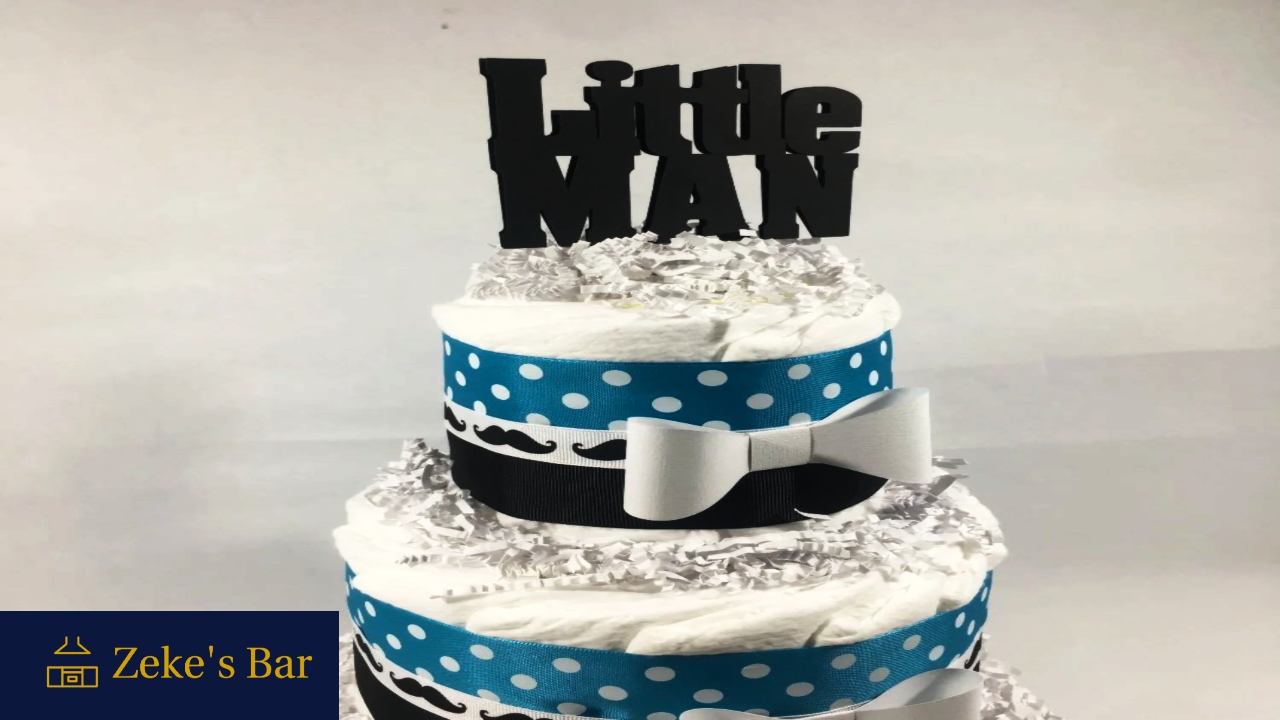
Ribbons and Decorative Elements: Select ribbons, bows, and embellishments in coordinating colors to match the theme.
Base Support: Use a sturdy base such as a cake stand, cardboard round, or serving platter to support the tiers.
Building the Base Tier
Begin by rolling individual diapers tightly from the open end to the folded edge. Secure each rolled diaper with a rubber band. Arrange the rolled diapers in a circle around the base support, ensuring a snug fit. Continue adding diapers until the desired width for the base tier is achieved.
Constructing the Second Tier
Repeat the rolling process with additional diapers for the second tier. Once rolled, secure them with rubber bands and arrange them neatly on top of the base tier. To enhance the appearance, insert decorative elements such as small toys or pacifiers between the diapers.
Completing the Top Tier
Roll a smaller quantity of diapers for the top tier to create a smaller circumference. Stack these rolled diapers on top of the second tier, ensuring stability. Add a final touch of elegance by incorporating decorative accents or a plush toy at the crown of the cake.
Decorating the Entire Diaper Cake
After assembling the tiers, adorn the diaper cake with ribbons, bows, and other decorative elements. Wrap ribbon around each tier, securing it with double-sided tape or glue. Personalize the cake by adding baby items such as socks, bibs, or rattles to the design.
Tips for a Professional Finish
Achieve a polished look for your 3-tier diaper cake with these expert tips:
Keeping Layers Neat and Tidy: Ensure each layer is uniform and tidy by arranging diapers evenly and securing them tightly.
Ensuring Stability: Prevent the tiers from shifting by using adhesive or tape to secure them to the base support.
Adding Finishing Touches: Enhance the visual appeal of the diaper cake with additional embellishments such as silk flowers, tulle, or themed decorations.
Read: How to Make a Jeep Diaper Cake
Conclusion
Crafting a 3-tier diaper cake is a creative and enjoyable way to celebrate a new arrival. With the right supplies and a little imagination, you can create a stunning centerpiece that doubles as a practical gift for new parents.
FAQs
How many diapers do I need for each tier?
The number of diapers depends on the size of each tier and the desired fullness. As a general guideline, plan for approximately 50 diapers for the base tier, 25 for the second tier, and 15 for the top tier.
Can I use different sizes of diapers for each tier?
While it's possible to use varying sizes, using the same size diapers for each tier ensures uniformity and stability in the structure of the diaper cake.
How far in advance can I make a diaper cake?
Diaper cakes can be assembled several days in advance of the event. However, it's best to avoid adding perishable items or items that may lose their freshness over time until closer to the event date.
Are there alternative bases I can use for the diaper cake?
Yes, you can use a variety of bases such as cake boards, decorative trays, or even diaper stackers. Just ensure that the base is sturdy enough to support the weight of the tiers.
Can I customize the diaper cake to match a specific theme or color scheme?
Absolutely! Feel free to personalize the diaper cake with colors, themes, and decorations that reflect the style and preferences of the recipient.