
Introduction: how to bake in paper loaf pans
Baking in paper loaf pans offers convenience, versatility, and an eco-friendly alternative to traditional metal pans. Whether you’re a seasoned baker or just starting out, mastering the technique of baking in paper loaf pans can elevate your baking creations to new heights. In this guide, we’ll delve into the intricacies of baking in paper loaf pans, providing you with expert tips, step-by-step instructions, and answers to frequently asked questions. Let’s embark on a journey to unlock the secrets of perfect paper pan baking!
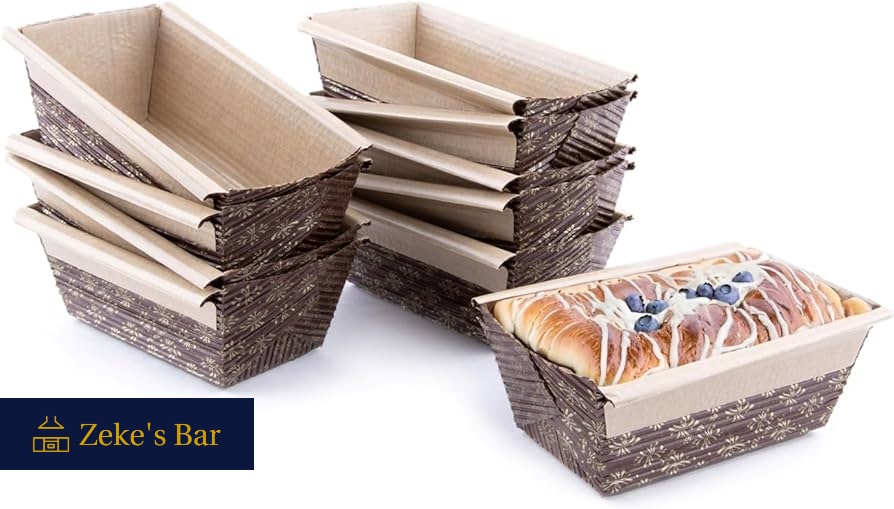
Choosing the Right Paper Loaf Pan
Baking success begins with selecting the right paper loaf pan. Here’s what to consider:
Quality Matters:
Invest in sturdy, high-quality paper loaf pans to ensure even baking and easy release.
Size Selection:
Choose the appropriate size for your recipe, ensuring the pan is filled to the recommended level for optimal results.
Greasing or Lining?:
Decide whether to grease the paper pan or use parchment paper for easy removal and cleanup.
Preparing Your Batter
Achieving the perfect batter consistency is crucial for successful baking. Follow these steps:
Mixing Method:
Opt for the creaming method for cakes or the muffin method for quick bread for best results.
Incorporating Ingredients:
Gradually add dry ingredients to wet, mixing until just combined to avoid overmixing.
Folding Techniques:
Master the art of gentle folding to maintain airiness and prevent deflation of delicate batters.
Baking in Paper Loaf Pans
Now, let’s dive into the baking process itself:
Preheating the Oven:
Ensure your oven is preheated to the correct temperature as per your recipe for consistent results.
Filling the Pan:
Fill the paper loaf pan with batter, leaving space for expansion during baking.
Baking Time and Temperature:
Follow the recipe guidelines for baking time and temperature, adjusting as needed for your specific oven.
Achieving Perfect Results
Unlock the secrets to perfectly baked treats with these expert tips:
Testing for Doneness:
Use a toothpick or cake tester to check for doneness, ensuring it comes out clean or with a few moist crumbs.
Cooling and Unmolding:
Allow your baked creation to cool in the pan before gently removing and transferring to a wire rack.
Storage and Serving Suggestions:
Store leftover treats in an airtight container and enjoy within a few days for optimal freshness.
Conclusion
Mastering the art of baking in paper loaf pans opens up a world of possibilities for home bakers. With the right techniques and tools, you can create delicious treats with ease and convenience. Remember to choose quality pans, prepare your batter with care, and follow baking best practices for perfect results every time. Whether you’re whipping up a batch of banana bread or a decadent chocolate cake, paper loaf pans are sure to become a staple in your kitchen arsenal.
Read the article “How L-shaped outdoor kitchen”
FAQs
Can I reuse paper loaf pans?
Absolutely! While some paper pans are designed for single use, sturdier options can be washed and reused multiple times.
How do I prevent my paper loaf pan from collapsing in the oven?
To prevent collapse, ensure your batter is properly mixed and not overly dense. Additionally, avoid overfilling the pan, leaving room for expansion during baking.
Are paper loaf pans oven-safe?
Yes, most paper loaf pans are oven-safe up to a certain temperature. Always check the manufacturer's guidelines for specific heat tolerances.
Can I bake yeast bread in a paper loaf pan?
While paper loaf pans are suitable for quick bread and cakes, they may not provide sufficient support for heavier yeast bread. It's best to use a traditional metal pan for yeast bread baking.
Are paper loaf pans eco-friendly?
Yes, paper loaf pans are often made from biodegradable materials, making them a sustainable choice for environmentally conscious bakers.
Can I use paper loaf pans in a microwave?
Paper loaf pans are not recommended for microwave use due to the risk of fire or uneven heating.